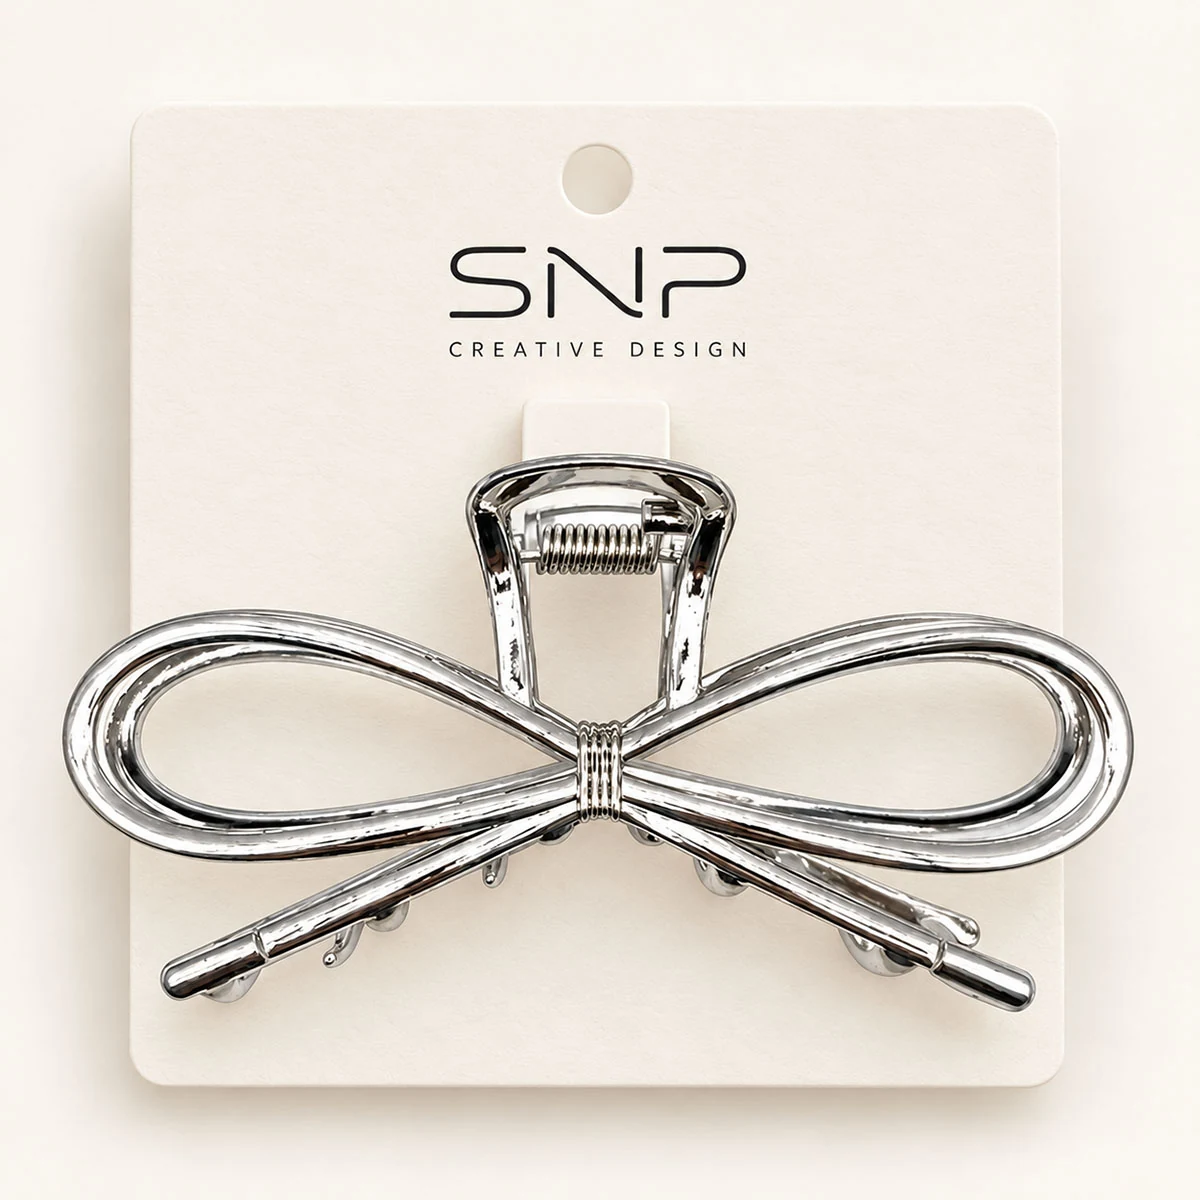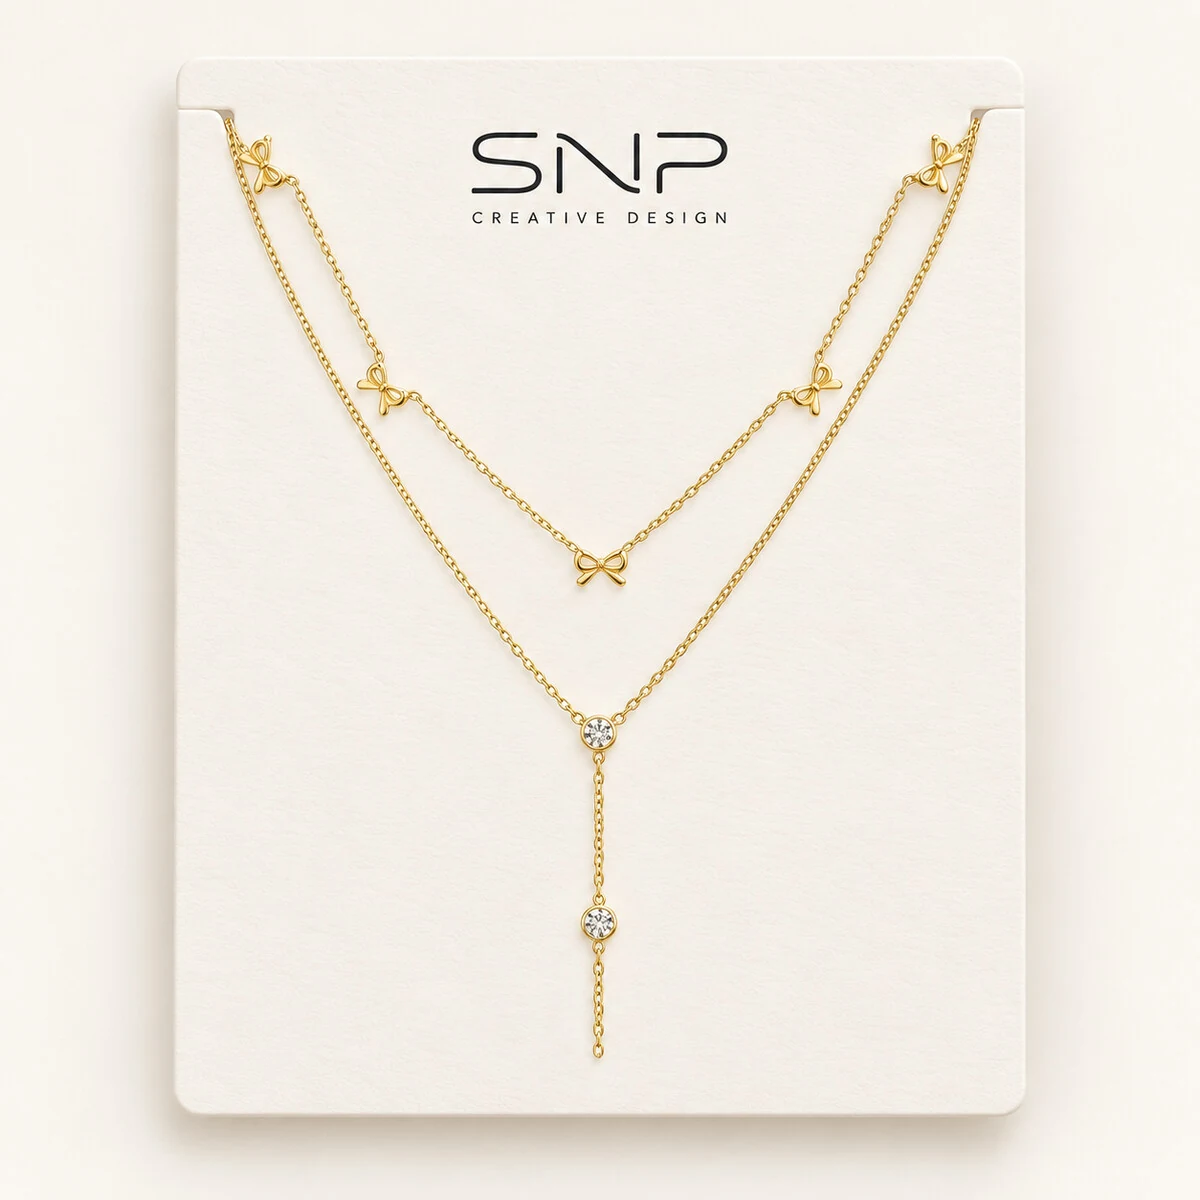
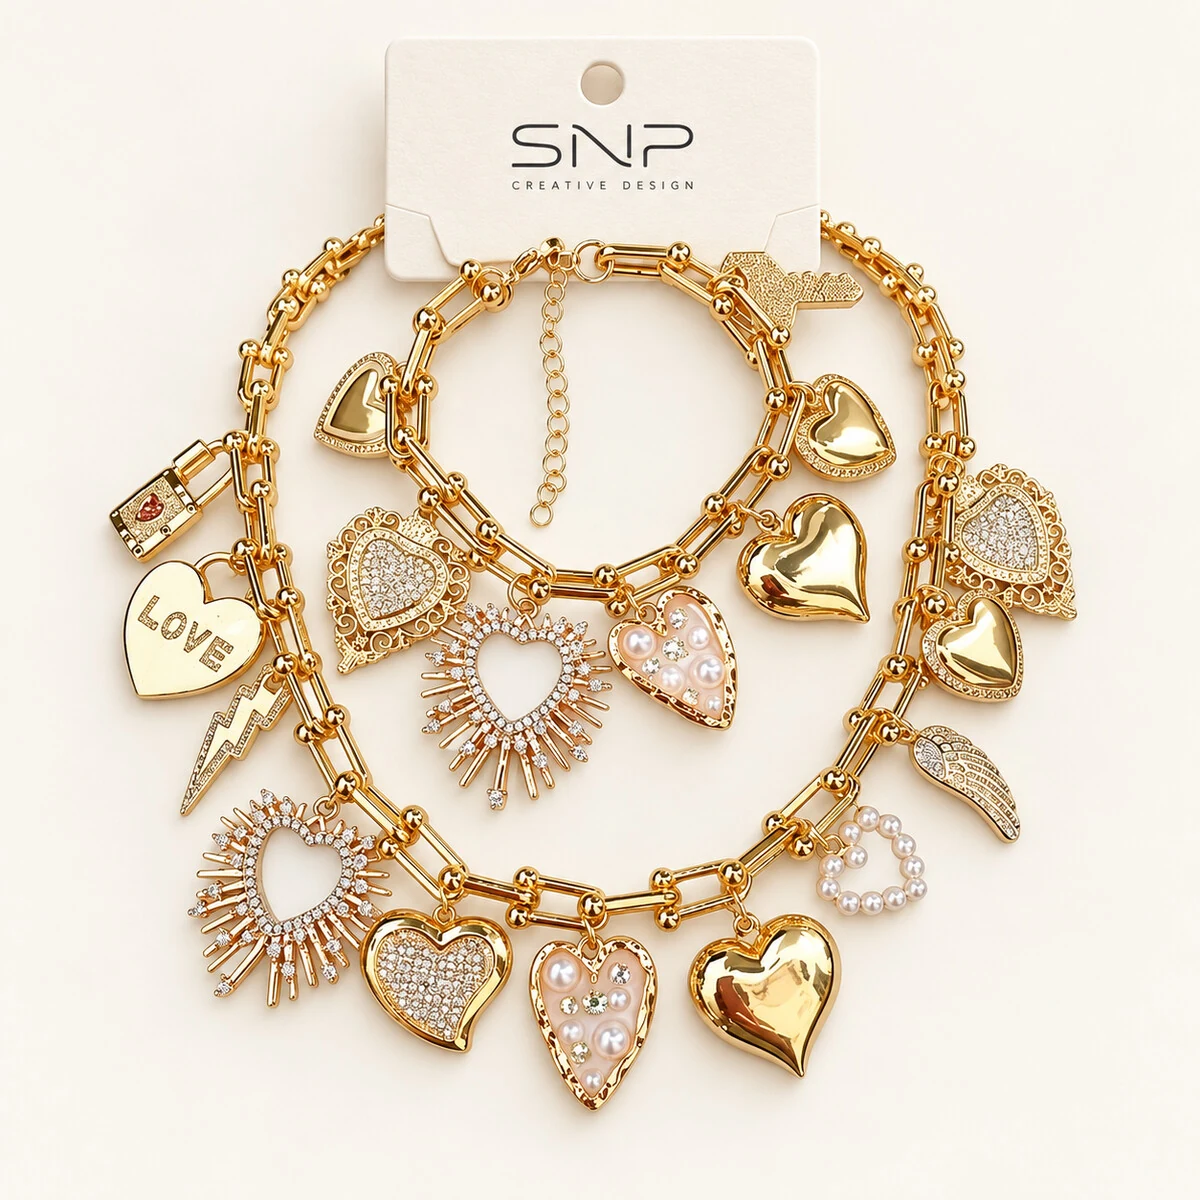
Follow the connection
Jump rings connect components such as chains, charms and clasps. They are easy to overlook because they occupy so little of the finished design. Yet the load from a pendant or the pull on a clasp may pass directly through them.
Start by following the product’s connections from one end to the other. Identify which rings hold decoration and which carry a more demanding load. A ring that works for a small earring detail may be unsuitable for a heavier charm or frequently handled accessory.
Size is only one variable
Consider ring diameter, wire thickness, shape and the openings on the components it joins. A ring must fit and move properly without creating an unnecessary weak point. The selected material and assembly method matter as well.
Simply making every ring larger is not a complete solution. Excess size may change the look, allow components to move awkwardly or catch on clothing. Choose the connector as part of the complete construction, with the intended use in mind.
Inspect the closure
Look closely at the meeting ends. An unintended gap or poor alignment can allow a fine chain or small attachment to escape. Distortion, roughness and sharp points can also affect use and appearance.
Where a closed or joined construction is specified, assess the joint and surrounding finish. Joining is not a blanket requirement for every design; the right approach depends on the product, component and agreed performance requirement.
Review it as an assembled product
Check the ring after it has been fitted, not just as a loose component. Confirm that it allows the intended movement, does not interfere with a clasp and is compatible with adjacent parts. Examine the finished surface around the connection.
For products with several charms, look at each attachment point. Repeated parts need consistent assembly. A single open connection can affect the whole item even when the remaining components are acceptable.
Agree the check before bulk
Define the relevant functional checks with the development team and buyer. The appropriate method and acceptance criteria depend on the product and intended use; a universal strength number would be misleading.
Bring the connection review into sampling, while a ring, eyelet or attachment can still be changed easily. Small decisions at this stage often prevent disproportionate problems later.
The buyer’s takeaway
Check fit, closure, movement and the complete load path. A connector should support both the design and the way the product will be used.